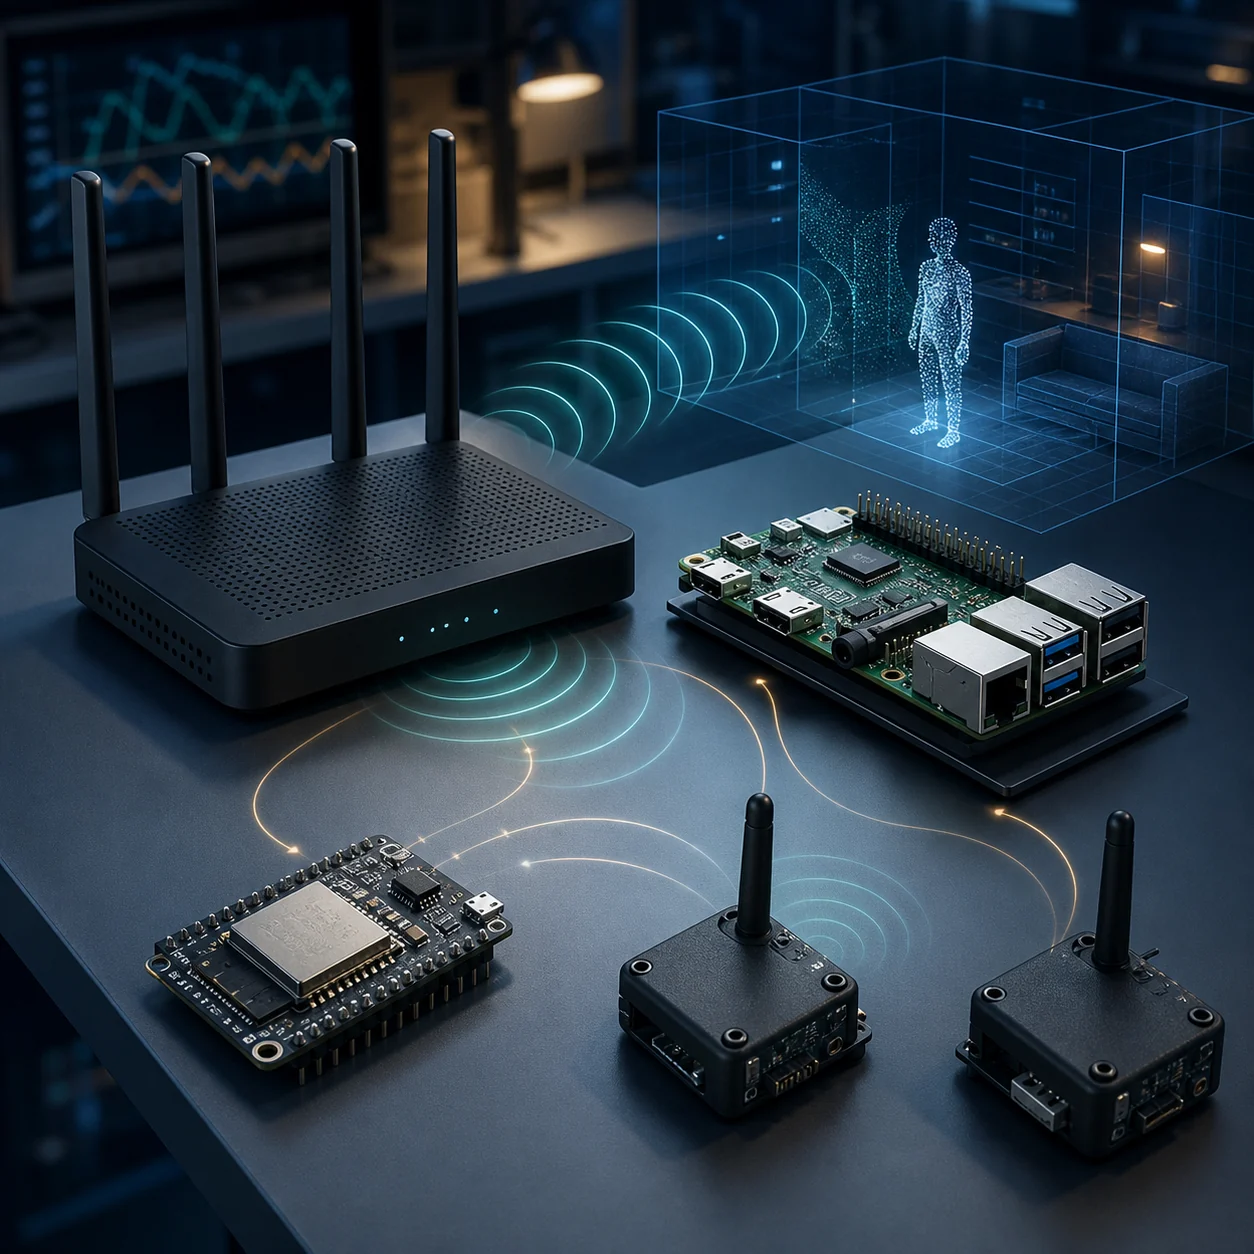
A WiFi sensing device is not simply any recent router, access point, or smart-home gadget. For an experiment, the important question is whether the device can expose Channel State Information (CSI), processed sensing events, or another documented measurement that software can record and validate. A fast WiFi 6 or WiFi 7 label does not answer that question.
The practical starting point is usually a supported capture path: an ESP32 board using the ESP-IDF CSI API, a specific Broadcom or Cypress device supported by Nexmon CSI, a normal router paired with a separate receiver, or a vendor platform with a documented sensing interface. Choose the data path first, then choose the enclosure or product name.
What counts as a WiFi sensing device?
A useful WiFi sensing device has three layers that work together. The radio hardware must produce measurements that change with the channel; firmware, a driver, or an SDK must make those measurements accessible; and an application must be able to save timestamps, packet context, and raw or processed values. If one layer is missing, the device may still be a good router but a poor research instrument.
This distinction matters because product pages often use words such as presence, smart home, radar, or AI without promising developer access. Treat marketing language as a lead, not proof. Look for an exact chipset, supported firmware, a local API or callback, an export format, and a reproducible example using the same hardware revision.
- The receiver exposes CSI, channel measurements, or a clearly documented sensing event.
- The capture software supports the exact chip, firmware, operating system, and kernel.
- The workflow preserves timestamps, packet metadata, and enough context for validation.
- The device can be tested in the target room instead of being trusted from a product label alone.
Compare the main WiFi sensing device paths
The table separates connectivity hardware from measurement hardware. A router may provide traffic and a stable channel while another device performs CSI capture. That separation is often cheaper and easier to reproduce than searching for a consumer router that promises every sensing feature in one box.
| Device path | Typical example | Measurement access | Best fit | Main limitation |
|---|---|---|---|---|
| ESP32 receiver | ESP32 board + ordinary router | ESP-IDF CSI callback | Low-cost presence and motion experiments | Needs calibration and controlled testing |
| Nexmon CSI device | Supported Broadcom/Cypress board or router | Patched firmware and capture tool | Linux and Raspberry Pi research capture | Exact chip, firmware, and kernel are critical |
| Edge computer plus radio | Raspberry Pi or similar host | Host runs capture and processing tools | Local pipelines and repeatable logging | The host alone does not create CSI |
| Vendor sensing platform | Documented commercial sensing node | Vendor API or processed events | Managed smart-building evaluation | May be closed, cloud-only, or subscription based |
| Ordinary router only | Retail WiFi access point | Usually no public raw CSI export | Traffic source for a separate receiver | WiFi generation does not guarantee sensing access |
ESP32 boards: the clearest first experiment
For many beginners, an ESP32 is the easiest WiFi sensing device to evaluate because the capture path is explicit. Espressif documents how to enable CSI in ESP-IDF and register a receive callback, giving you a concrete place to inspect packet timing, RSSI, channel data, and metadata. The board can listen while an ordinary router supplies repeatable traffic.
This path is useful for learning the full loop: collect an empty-room baseline, introduce one controlled movement, store the raw records, and compare repeated sessions. It is not a promise of accurate pose, breathing, or identity inference. Board family, antenna design, band, channel width, packet rate, and room geometry still affect the result.
- Choose the exact ESP32 family and verify the current ESP-IDF example before ordering.
- Record channel, bandwidth, antenna position, packet source, and firmware version.
- Start with presence or motion rather than a high-level pose or health claim.
- Keep raw CSI and packet context so a later model result can be audited.
Raspberry Pi and Nexmon: a more specific Linux path
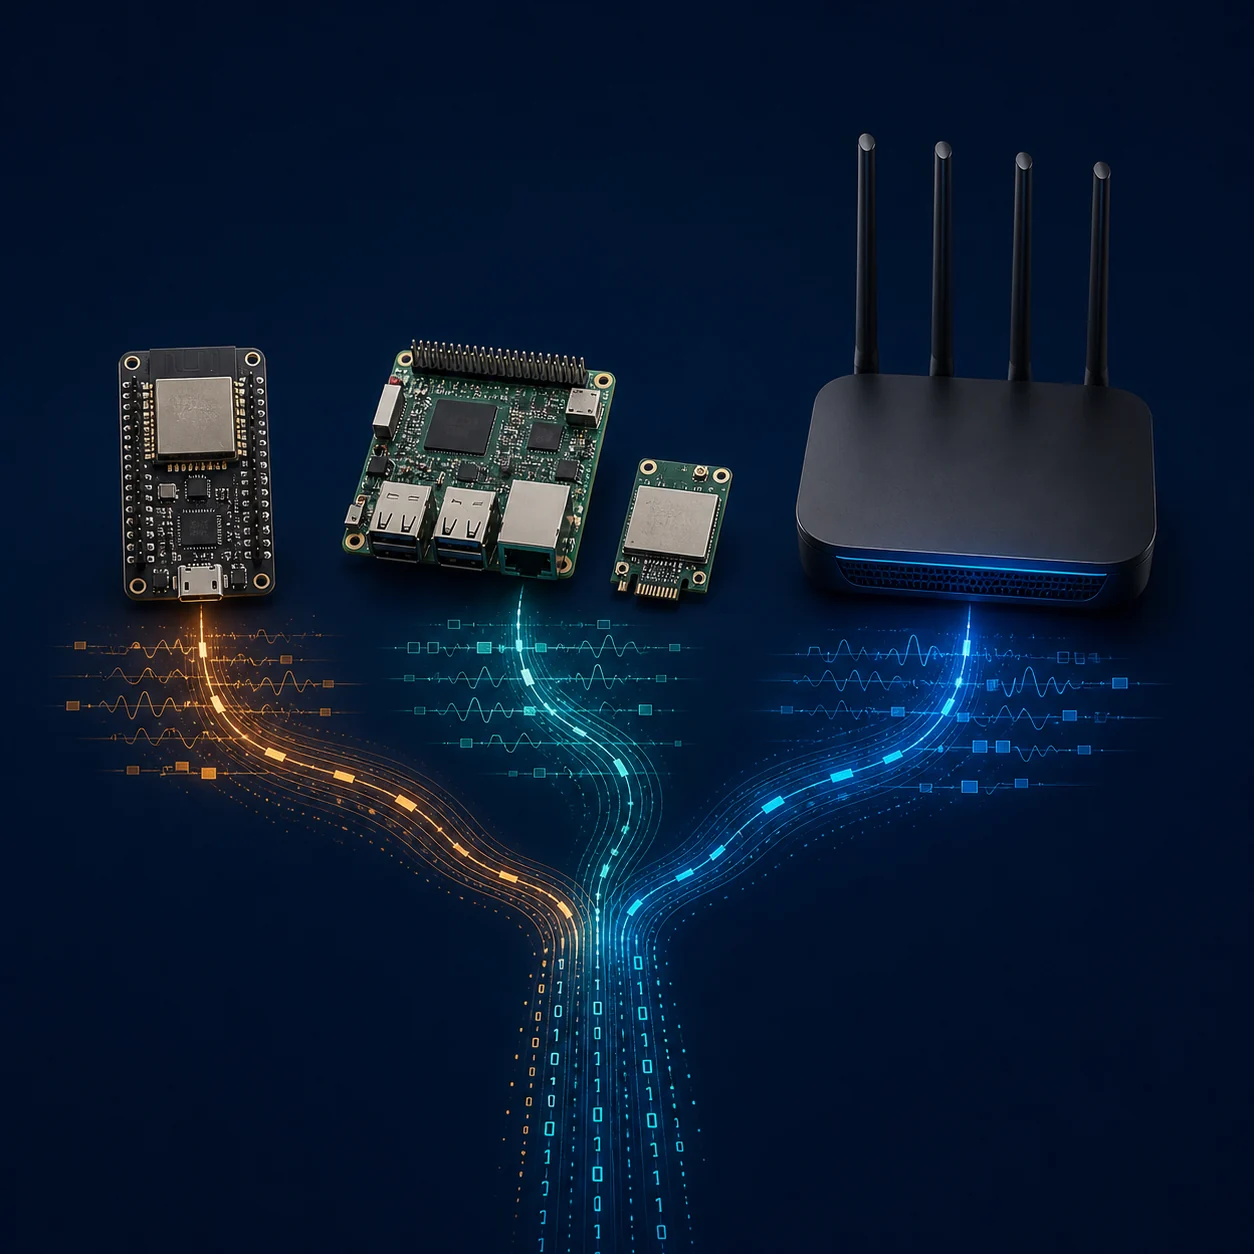
A Raspberry Pi is often the edge computer rather than the sensing radio itself. With a compatible radio and a documented capture project such as Nexmon CSI, it can host logging, filtering, visualization, and model experiments locally. This makes the Pi useful when you want a Linux workflow, but the board name alone is not enough evidence that CSI capture will work.
Nexmon CSI support is tied to particular Broadcom or Cypress chips, firmware builds, operating-system images, and kernel assumptions. Before buying, check the project support information for the exact device revision and reproduce the capture command on a known-good setup. A working example for one Raspberry Pi image should not be generalized to every Pi, router, or USB adapter.
- Match the exact radio chipset, board revision, firmware, and kernel instructions.
- Use the edge computer for storage and processing, but verify which component captures CSI.
- Expect maintenance when Linux, firmware, or driver versions change.
- Prefer a documented reference device before testing an unlisted model.
Routers, vendor platforms, and 802.11bf
A router is still valuable even when it cannot export raw CSI. It can provide stable traffic, a known channel, and a controllable environment for an ESP32 or supported CSI receiver. If a product exposes processed presence events through a local SDK or a documented cloud API, evaluate that interface separately from raw CSI research.
IEEE 802.11bf improves the standardization context for WLAN sensing, but a published standard does not automatically unlock an installed router. Actual capability depends on chipset support, firmware, product implementation, permissions, and whether developers can obtain the measurements. Verify the product interface instead of buying from a WiFi-generation number alone.
- Ask whether access is raw CSI, processed events, local API, cloud API, or unavailable.
- Check exact bands, channel widths, antenna/core fields, timestamps, and export format.
- Separate a vendor feature claim from an independently reproducible capture path.
- For occupied spaces, obtain consent and define retention, access, and deletion rules.
Five checks before you choose a device
A short compatibility check can prevent a long hardware detour. Start with the task you want to measure, then work backward to the signal and the capture path. If a device cannot answer the questions below, treat it as an unverified experiment rather than a dependable sensing component.
- Define the first measurable task: presence, motion, occupancy, localization, or a research feature.
- Name the required measurement and confirm that the device exports it to your software.
- Freeze the hardware, firmware, OS, kernel, channel, bandwidth, and antenna layout for a baseline.
- Plan a data record with timestamps, packet context, room conditions, labels, and raw files.
- Set a fallback: an ESP32 reference board, a supported Nexmon device, or a normal router plus receiver.
Validate the WiFi sensing device before trusting output
After the first capture, test an empty room, a stationary person, repeated walking paths, door movement, furniture changes, traffic changes, and a restart. Change one variable at a time and keep the configuration with each recording. The goal is not a dramatic visualization; it is evidence that a feature is repeatable under the conditions where you intend to use it.
Compare sessions collected on different days and report false positives, packet loss, drift, and uncertainty. A model or demo may show a convincing result while still failing when the router moves, the channel changes, the room is rearranged, or a different person enters. Treat the output as a research estimate until the hardware and evaluation protocol support a stronger claim.
- Keep a room baseline and repeat the same movement several times.
- Record packet cadence, missing samples, RSSI drift, and channel changes.
- Test negative cases such as fans, doors, pets, and moving furniture.
- Do not describe a visualization as a camera image, medical reading, or identity proof.
- Document consent and access controls when recordings can reveal occupancy or activity.
Where this device guide fits on RuView Blog
This page answers the device-selection question: which hardware path can expose measurements for a WiFi sensing experiment? Use the ESP32 guide for callback configuration, the Nexmon guide for Broadcom and Raspberry Pi capture, the CSI guide for signal concepts, and the router guide for compatibility and buying checks. The dataset and open-source guides become useful after you have a stable capture path.
The same boundary prevents keyword and reader confusion. A router list should not promise raw CSI, a Raspberry Pi setup should not imply that the Pi creates measurements by itself, and a successful RuView visualization should not be treated as proof of production accuracy.
Official technical references
WiFi sensing device FAQ
What is the best WiFi sensing device for a beginner?
An ESP32 board with a documented ESP-IDF CSI path is often the clearest starting point because the callback and capture workflow are inspectable. Choose the exact board family first and begin with a controlled presence or motion experiment.
Can a normal WiFi router capture CSI?
Not necessarily. A router can provide traffic and a stable radio environment, but raw CSI access depends on its chipset, firmware, driver, and public interface. A separate ESP32 or supported Nexmon receiver is usually easier to verify.
Is Raspberry Pi a WiFi sensing device by itself?
A Raspberry Pi is usually the edge computer that stores, processes, or visualizes data. It becomes part of a sensing path only when its radio and software stack support a documented capture method, such as a compatible Nexmon CSI setup.
Does WiFi 6 or WiFi 7 mean a router supports sensing?
No. WiFi generation describes networking features, not guaranteed developer access to CSI or sensing events. Verify the exact product interface, firmware, chipset, and export format.
Which device should I use for human detection or pose research?
Start with a supported, repeatable CSI path and a narrow validation task. Human detection and pose research require labeled sessions, negative cases, calibration checks, and uncertainty reporting; a device label or one successful visualization is not enough evidence.